

How to dye a large piece of fabric with liquid dyes?
Leave a message

Dyeing a large piece of fabric with liquid dyes can be a rewarding and creative process. As a supplier of high - quality liquid dyes, I've witnessed firsthand the beauty and versatility that these dyes bring to various fabric projects. In this blog, I'll guide you through the step - by - step process of dyeing a large piece of fabric using liquid dyes, sharing tips and tricks along the way.

Understanding Liquid Dyes
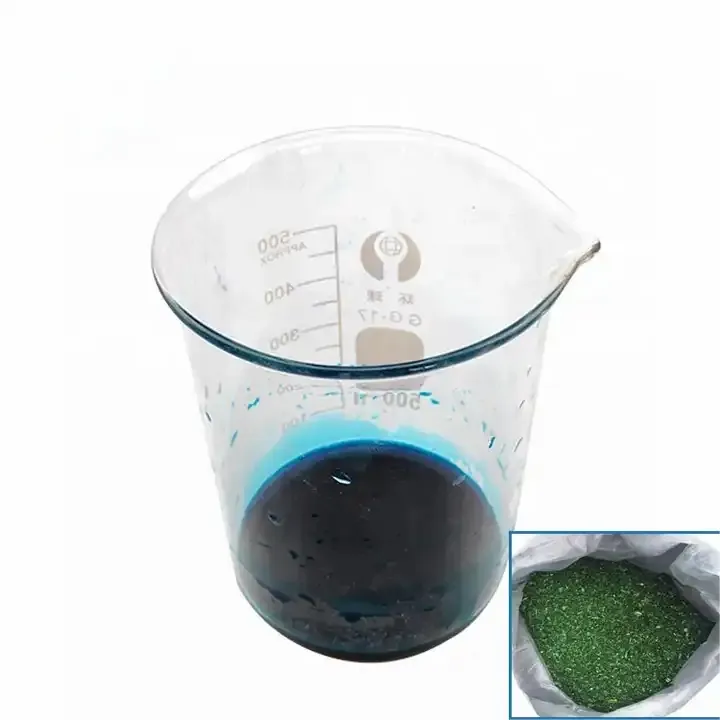
Liquid dyes are a popular choice for fabric dyeing due to their ease of use and excellent color saturation. They come in a wide range of colors, from vibrant primaries to subtle pastels. For example, our Liquid Rhodamine B offers a brilliant pinkish - red hue, Liquid Indigo Blue provides a classic denim - like blue, and Liquid Malachite Green gives a rich, deep green. These dyes are water - based, which means they are relatively easy to work with and environmentally friendly compared to some other types of dyes.
Preparing the Fabric
Before you start dyeing, it's crucial to prepare the fabric properly. First, wash the fabric to remove any dirt, oils, or sizing agents that may prevent the dye from adhering evenly. Use a mild detergent and warm water, then rinse thoroughly and let the fabric dry completely.
If the fabric is new, it's a good idea to pre - shrink it. This can be done by washing and drying the fabric on a high - heat setting. Pre - shrinking ensures that the fabric won't shrink further after dyeing, which could cause the color to distort.
Choosing the Right Dye
The choice of dye depends on several factors, including the type of fabric, the desired color, and the dyeing method. Different fabrics absorb dyes differently. For example, natural fibers like cotton, linen, and silk tend to take up dyes well, while synthetic fibers may require special dyes.
Consider the color you want to achieve. If you're aiming for a solid color, choose a single dye color. However, if you want a more complex or blended look, you can mix different dyes together. Keep in mind that the final color may vary slightly from what you expect, so it's a good idea to do a test dye on a small piece of fabric first.
Setting Up the Dyeing Area
Choose a well - ventilated area to work in, as dyeing can produce fumes. Lay down some plastic sheeting or old newspapers to protect the surface. You'll also need a large container for the dye bath. A plastic or stainless - steel tub is a good choice, as it won't react with the dye.
Mixing the Dye
Follow the instructions on the dye package to mix the dye. Usually, you'll need to add the dye to a certain amount of warm water. For a large piece of fabric, you may need to make a larger batch of dye. Stir the dye thoroughly to ensure that it's completely dissolved.
If you're mixing multiple dyes, start by mixing them in small amounts to see how the colors combine. Once you're satisfied with the color, mix the full batch.
Dyeing the Fabric
- Submerging the Fabric
- Slowly lower the fabric into the dye bath, making sure it's fully submerged. Use a long - handled spoon or a pair of tongs to move the fabric around in the dye bath. This helps to ensure that the dye is evenly distributed.
- For a solid color, keep the fabric moving constantly for about 30 minutes to an hour. The longer the fabric stays in the dye bath, the darker the color will be.
- Creating Patterns
- If you want to create patterns on the fabric, there are several techniques you can use. One popular method is tie - dyeing. To tie - dye, fold or twist the fabric into the desired pattern, then secure it with rubber bands. Dip the tied fabric into the dye bath, making sure that the dye penetrates the fabric in the areas you want to color.
- Another technique is dip - dyeing. This involves dipping only part of the fabric into the dye bath, creating a gradient effect. You can also use stencils or stamps to apply the dye in specific patterns.
Fixing the Dye
After dyeing, you need to fix the dye to make the color permanent. This can be done by adding a fixative to the dye bath or by rinsing the fabric in a fixative solution. Follow the instructions on the fixative package carefully.
Once the fixative has been added, let the fabric soak in the solution for the recommended amount of time. Then, rinse the fabric thoroughly under cold water until the water runs clear.
Rinsing and Drying the Fabric
Rinse the fabric under cold water to remove any excess dye. Start with a gentle rinse, then gradually increase the water pressure. Keep rinsing until the water runs clear.
After rinsing, gently squeeze out the excess water from the fabric. Do not wring the fabric, as this can cause the color to distort. Hang the fabric to dry in a well - ventilated area, away from direct sunlight. Sunlight can fade the color over time.
Post - Dyeing Care
Once the fabric is dry, you can give it a final wash to remove any remaining traces of dye. Use a mild detergent and cold water, then rinse and dry as usual.
To keep the color vibrant, avoid washing the dyed fabric with light - colored items. Wash the fabric inside out to protect the color from friction. Also, use a gentle cycle and cold water to prevent the color from fading.
Troubleshooting
If you encounter any problems during the dyeing process, here are some common issues and solutions:
- Uneven Color: This can be caused by improper mixing of the dye, insufficient movement of the fabric in the dye bath, or dirt on the fabric. To fix it, try re - dyeing the fabric or spot - treating the uneven areas.
- Fading Color: Fading can occur if the dye was not fixed properly or if the fabric is exposed to too much sunlight or heat. To prevent fading, make sure to use a fixative and follow the post - dyeing care instructions.
- Dye Transfer: If the dye transfers to other items during washing, it may be because the dye was not fully fixed. Try re - treating the fabric with a fixative and washing it separately.
Conclusion
Dyeing a large piece of fabric with liquid dyes is a fun and creative process that allows you to transform ordinary fabric into something unique. By following these steps and tips, you can achieve beautiful, long - lasting results.
If you're interested in purchasing high - quality liquid dyes for your next fabric - dyeing project, I encourage you to reach out to us for more information. We offer a wide range of colors and can provide expert advice on choosing the right dye for your needs. Contact us to start a discussion about your requirements and explore the possibilities of fabric dyeing with our liquid dyes.
References
- "The Complete Book of Fabric Dyeing" by Janet Wickell
- "Dyeing Fabrics: A Step - by - Step Guide" by Mary Jane Mucklestone
- Manufacturer's instructions for liquid dyes


